I have to say that I am so glad people have realized that keeping the (almost) permanent fixtures neutral is the way to go. Things like flooring and tile.
We have been in our home for about 38 years and have lived through many decorating styles. It was built in the early 1970s when the colour pallet was Harvest Gold and Avocado Green. My tub surround was not really gold and not really green …. with a brown border. Ya … goes with NOTHING. The tragedy is that it is still in pristine condition. Perfectly white grout lines and no chips.
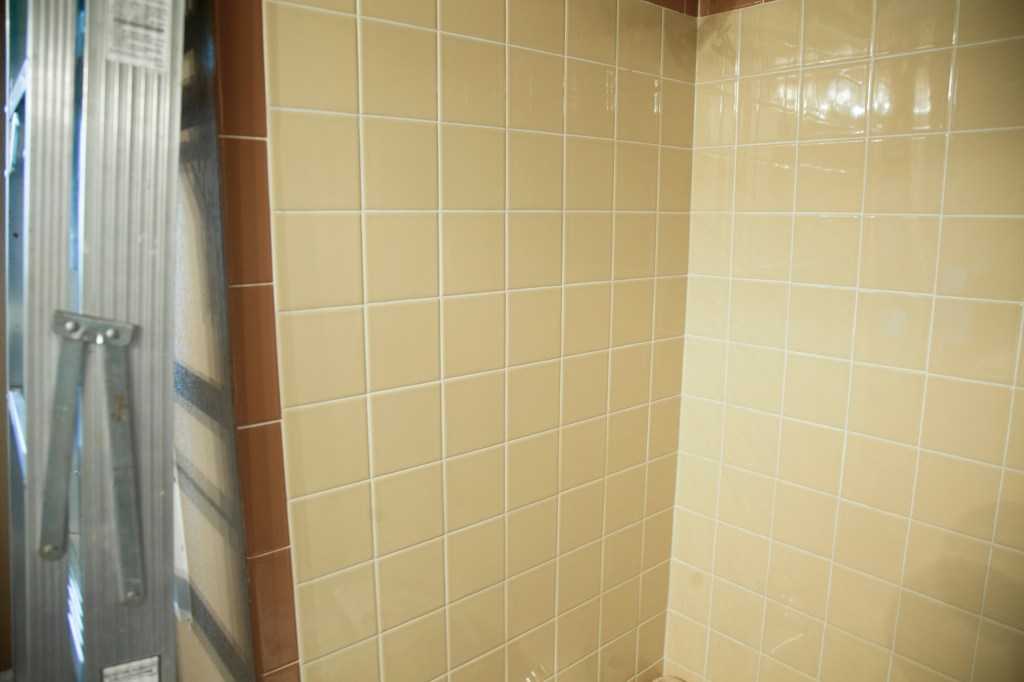
As per the challenge, can’t replace it … so it must be painted!
First let me tell you what not to do so you avoid my epic fail. I had painted a ceramic back splash in my daughter’s kitchen which only required a light sanding and primer before painting. This tile, however, is porcelain. Not porous and completely smooth. Nothing for the primer to adhere to, even after sanding. After literally washing the primer off the tile I decided to connect with the experts. I called my local Home Depot and spoke to Alanna in Paint. She told me what to use, that she had it in stock and that there was a very short line up to get into the store (just re-opened during Covid-19). I hopped in my car and raced right over. As per Alanna, here’s what I needed:

Step 1: Tent off the area you are painting as the spray WILL go places you don’t want it to.
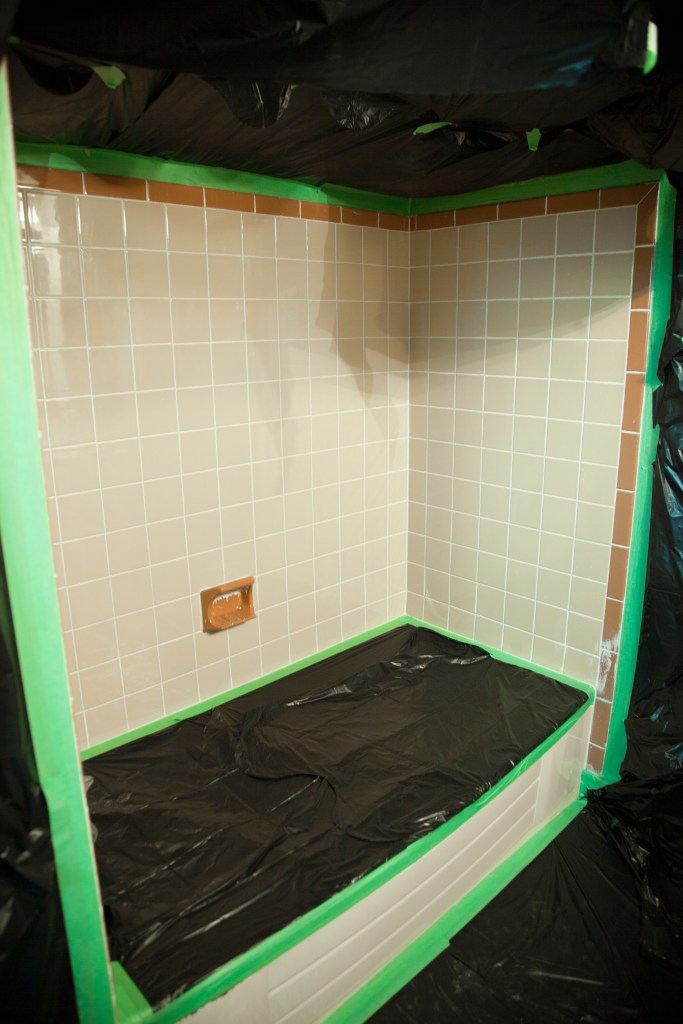
Step 2: Lightly sand and wash the tile with CLR or another cleaner that will remove grease, rust and other water build up issues.
Step 3: Before spraying the whole area, do a test spot in an area easy to hide. If that spot works spray an even coat of the Rust-oleum Tub & Tile all over the tile. It doesn’t have to be a thick coat. What this does is create a texture on the tile that will allow the paint to adhere to it. Let that dry overnight.
Step 4: Paint your tile! Gloss paint is the best for this application as it is the most durable. Apply a coat with a roller and let it dry overnight, if possible. Apply the second coat and let that dry and you’re done!
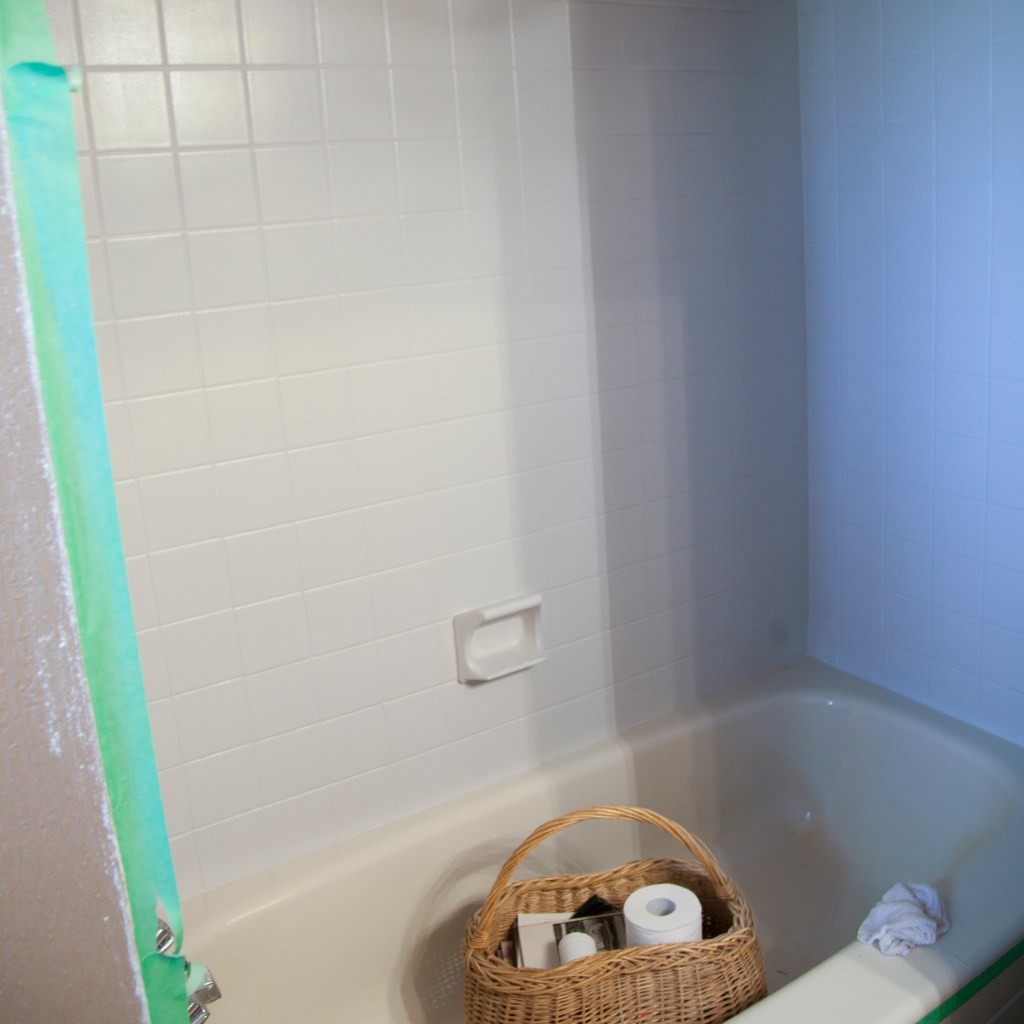
Voilla! Fresh, “new” tile. It even covered the porcelain soap dish.
The Rust-oleum product will work on the tub as well, however, we’ve decided to leave that to the experts and have it re-glazed professionally.
I hope this helps relieve some of the fear you might have if you are considering trying this. The prep is key so don’t skip it. Good luck and happy painting!

Leave a comment